Documentation
User Guide
Everything you need to set up and run your sports organization with RosterMgmt — from initial configuration to managing tournaments and communicating with families.
Getting Started
Welcome to RosterMgmt! This guide walks you through setting up your organization from scratch. By the end, you’ll have sports, seasons, teams, registration programs, and payment collection — all ready for families to use.
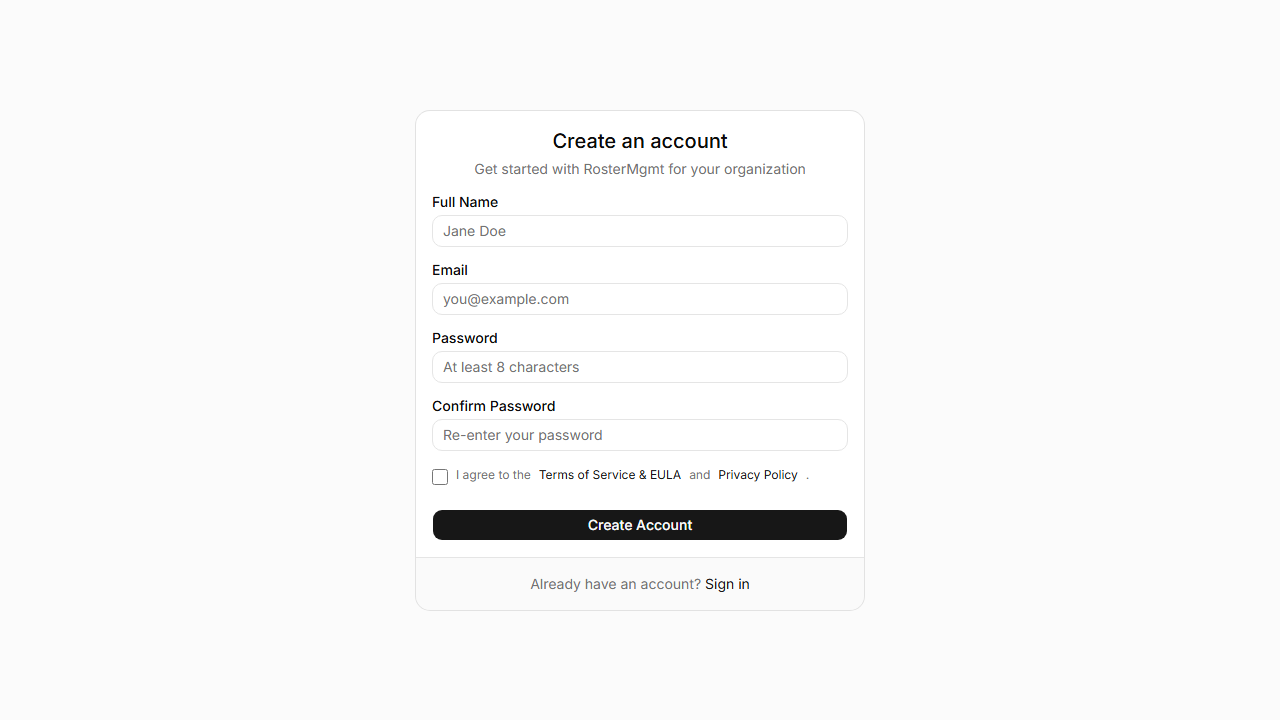
Creating Your Account
Signing In
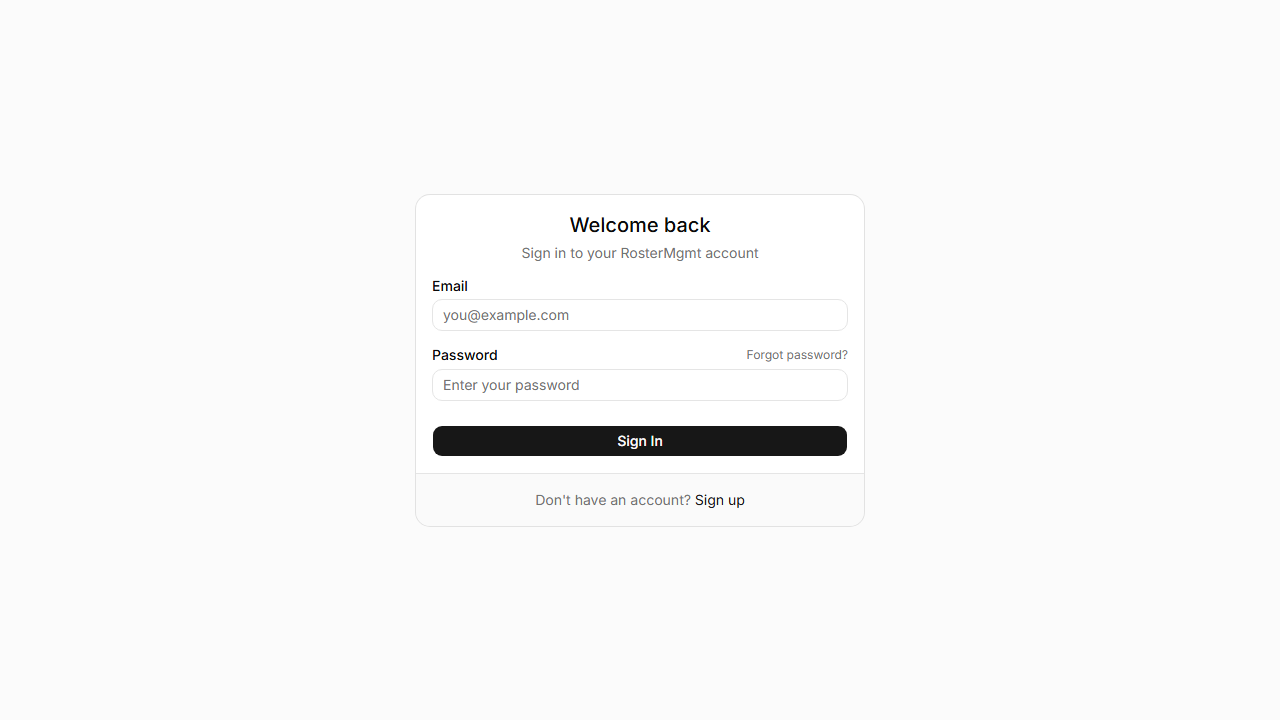
Enter your email and password, then click “Sign In.” Admins are taken to the admin dashboard; parents go to the family dashboard.
Admin Dashboard
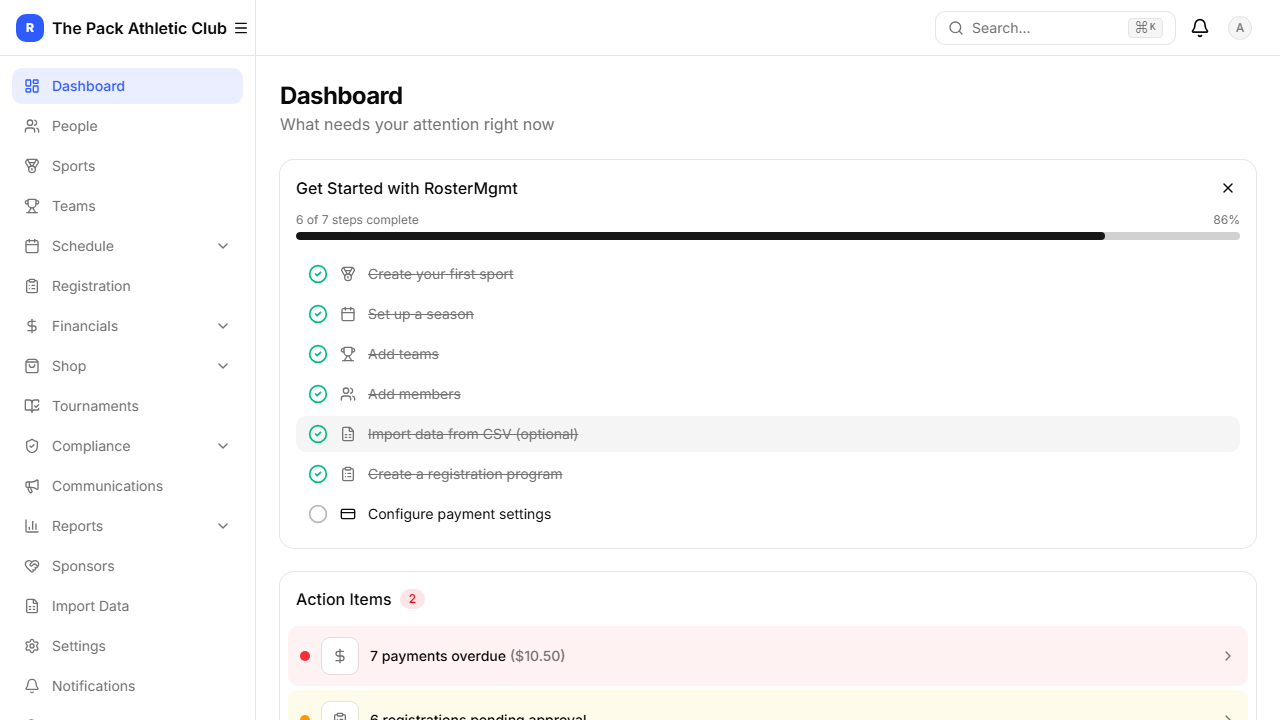
The dashboard is your home base. It shows an onboarding checklist (for new orgs), action items needing attention, and key stats. The sidebar on the left provides quick access to every section.
Onboarding Checklist
New organizations see a step-by-step checklist. Complete each step to get fully set up:
- Create your first sport
- Set up a season
- Add teams
- Add members
- Import data from CSV (optional)
- Create a registration program
- Configure payment settings
Organization Setup
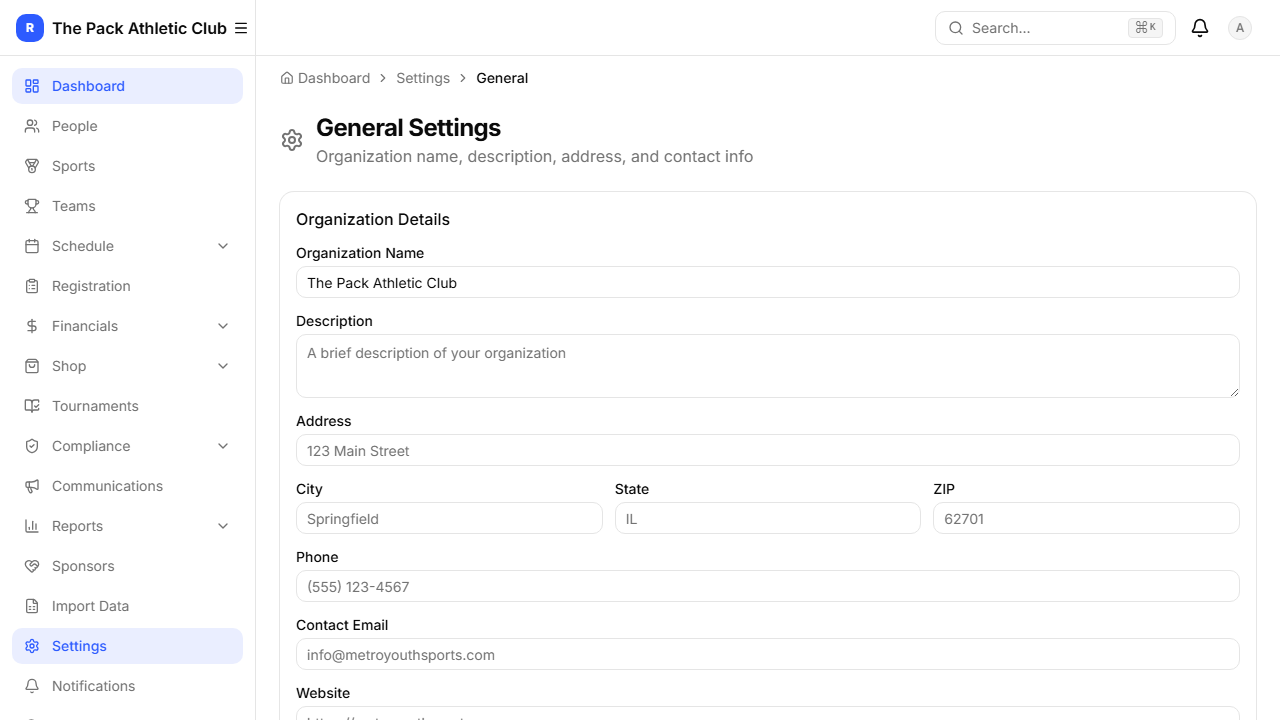
Go to Settings → Generalto configure your organization’s name, address, contact information, and timezone. This information appears on your public-facing pages and in communications to families.
Branding
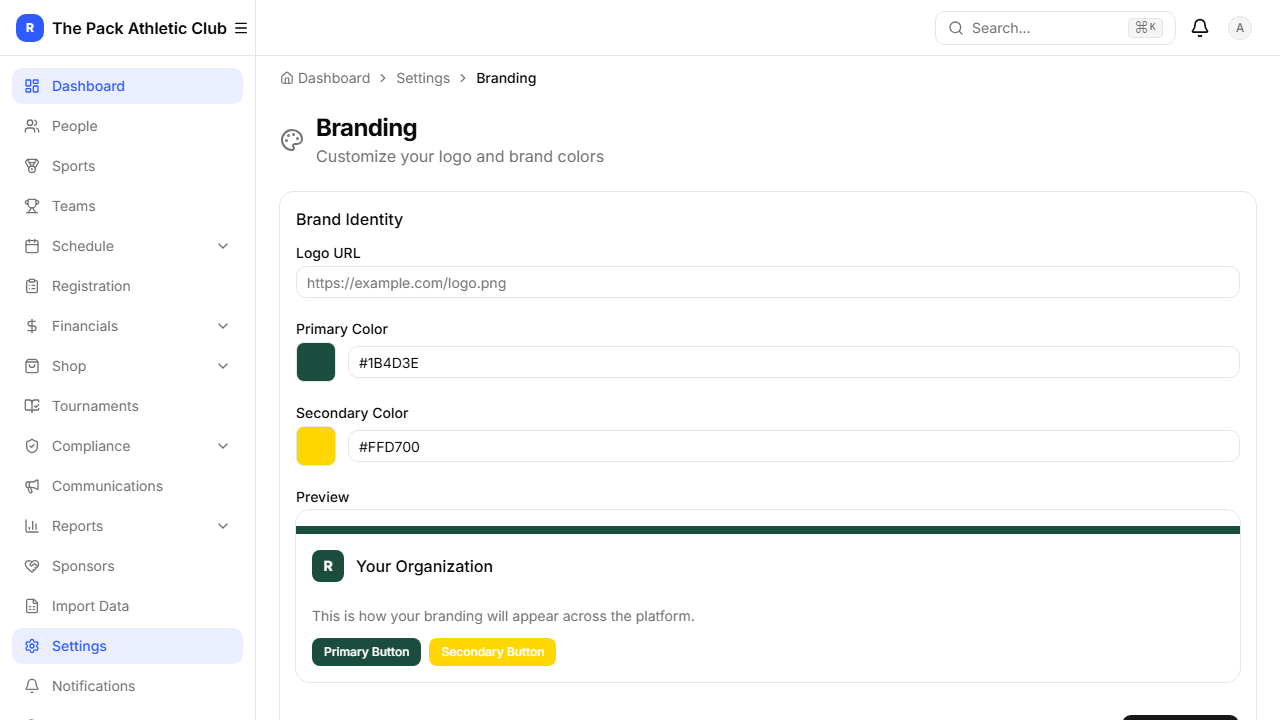
Under Settings → Branding, upload your logo and set primary/secondary colors. These are applied across the member portal and email templates.
Billing & Plan
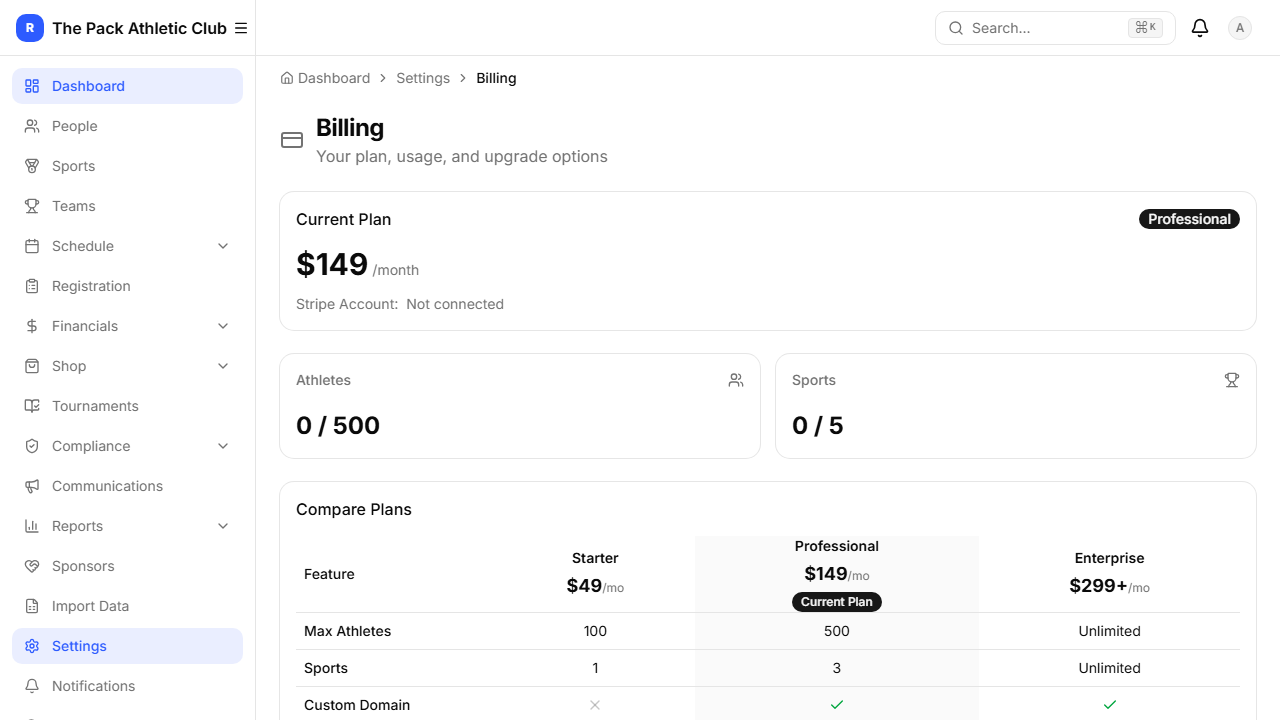
View your current plan, usage stats, and upgrade options under Settings → Billing. Plans range from Starter (1 sport, 100 athletes) to Enterprise (unlimited).
Sports & Seasons
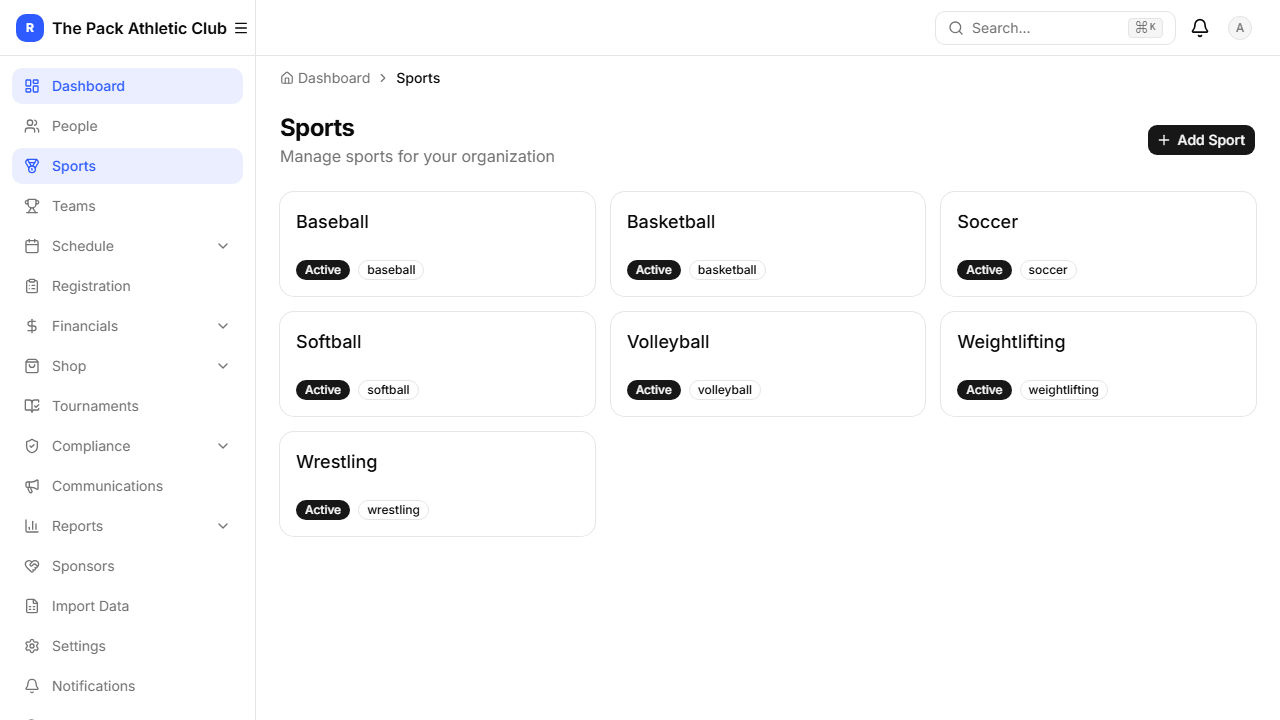
Navigate to Sports in the sidebar. Click a sport to view its seasons, or create a new sport. Each sport gets its own seasons, teams, and registration programs.
Teams & Rosters
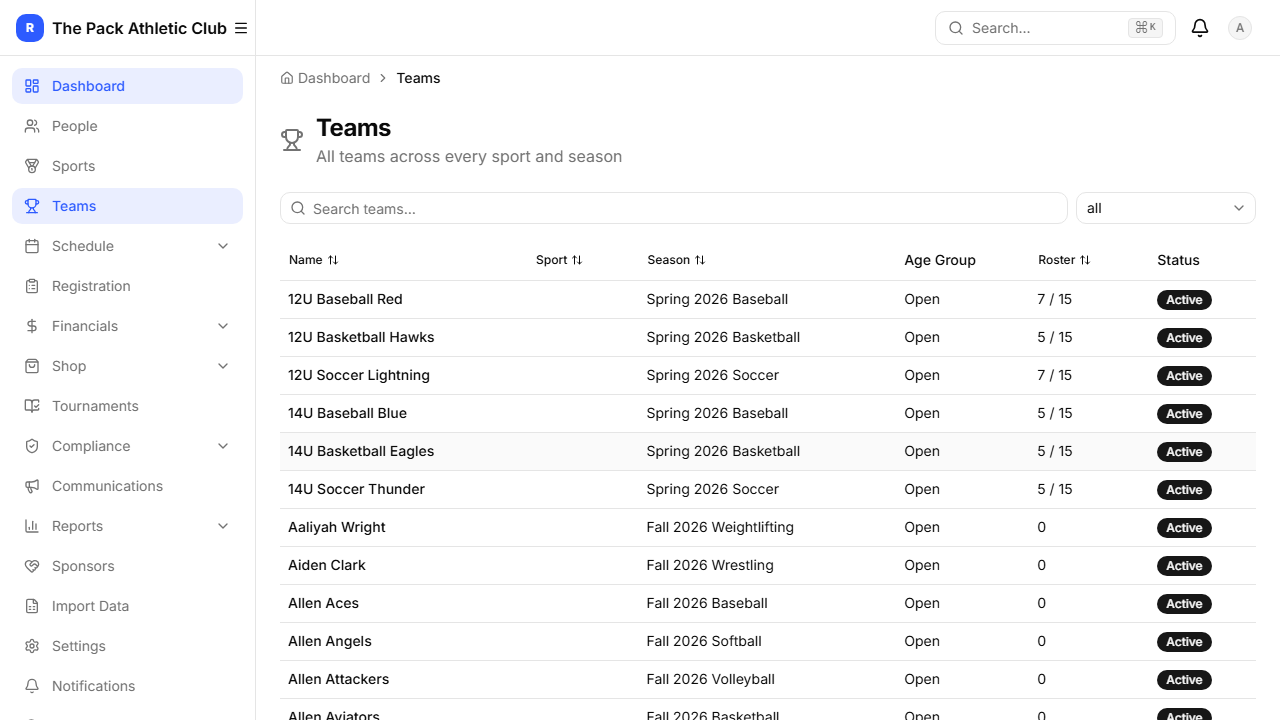
Go to Teams to view, create, and manage teams. Each team belongs to a season and can have a head coach, age group, skill level, and max roster size.
Click into a team to manage its roster — add athletes, assign coaches, and track player status.
People Management
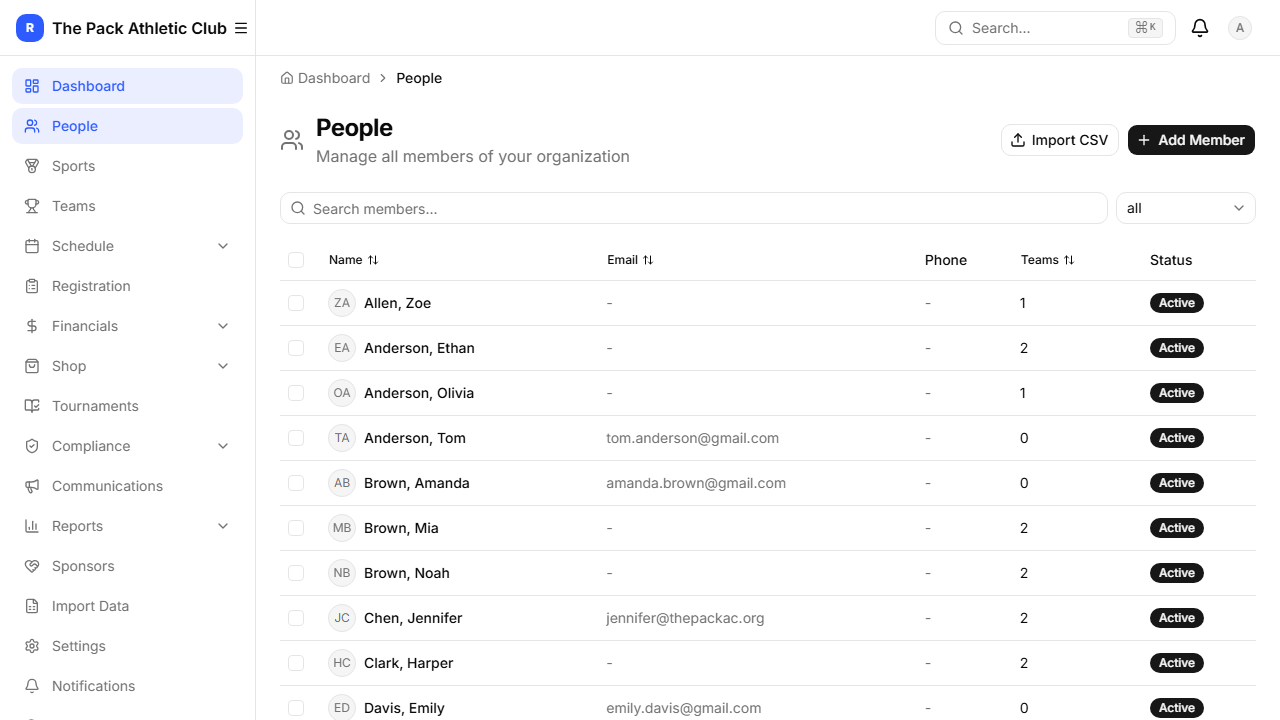
The People page lists all members of your organization — athletes, parents, coaches, and volunteers. Click Add Member to add someone manually, or use Import CSV to bulk-import.
Click into any member to see their profile, team assignments, family links, documents, and payment history.
CSV Import
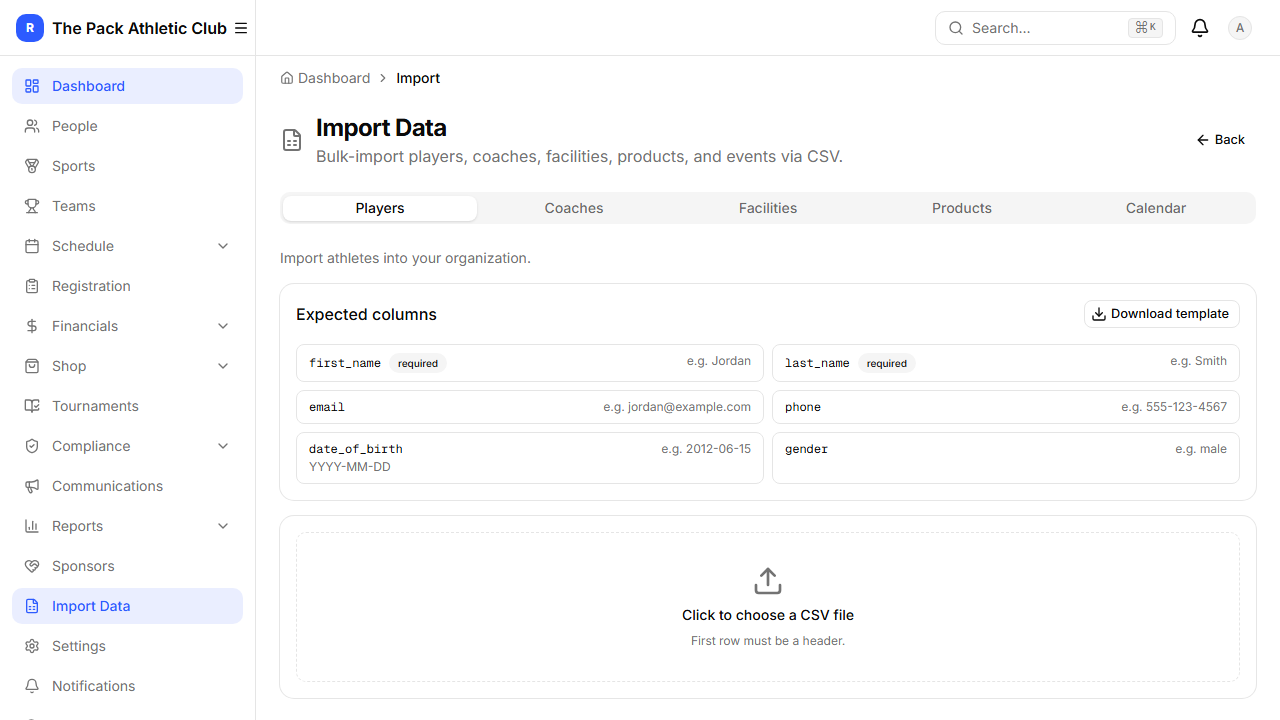
Navigate to Import Data in the sidebar. You can bulk-import five types of data:
- Players — first name, last name, email, phone, DOB, gender
- Coaches — first name, last name, email, phone
- Facilities — venue name, address, resources (fields, courts, cages)
- Products — shop items with prices
- Calendar — events with dates and types
Facilities & Resources
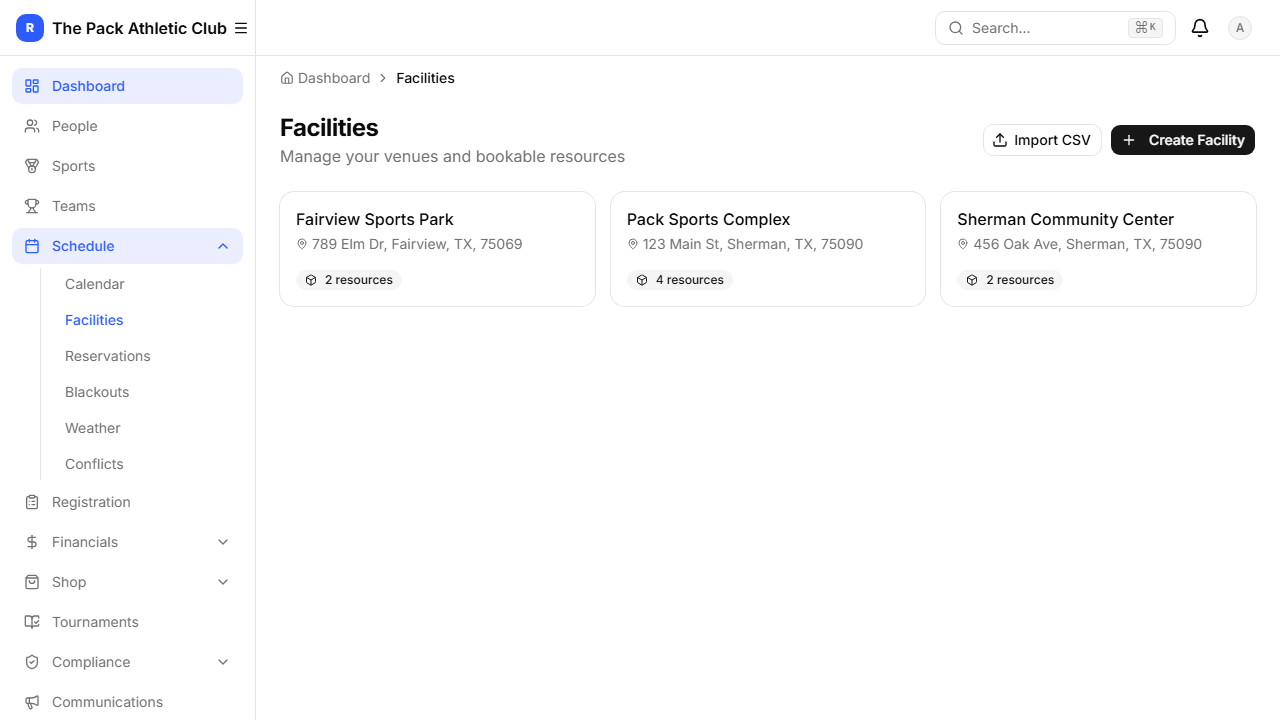
Under Schedule → Facilities, manage your physical venues. Each facility can have multiple bookable resources: fields, courts, batting cages, mounds, lanes, or rooms.
Schedule & Calendar
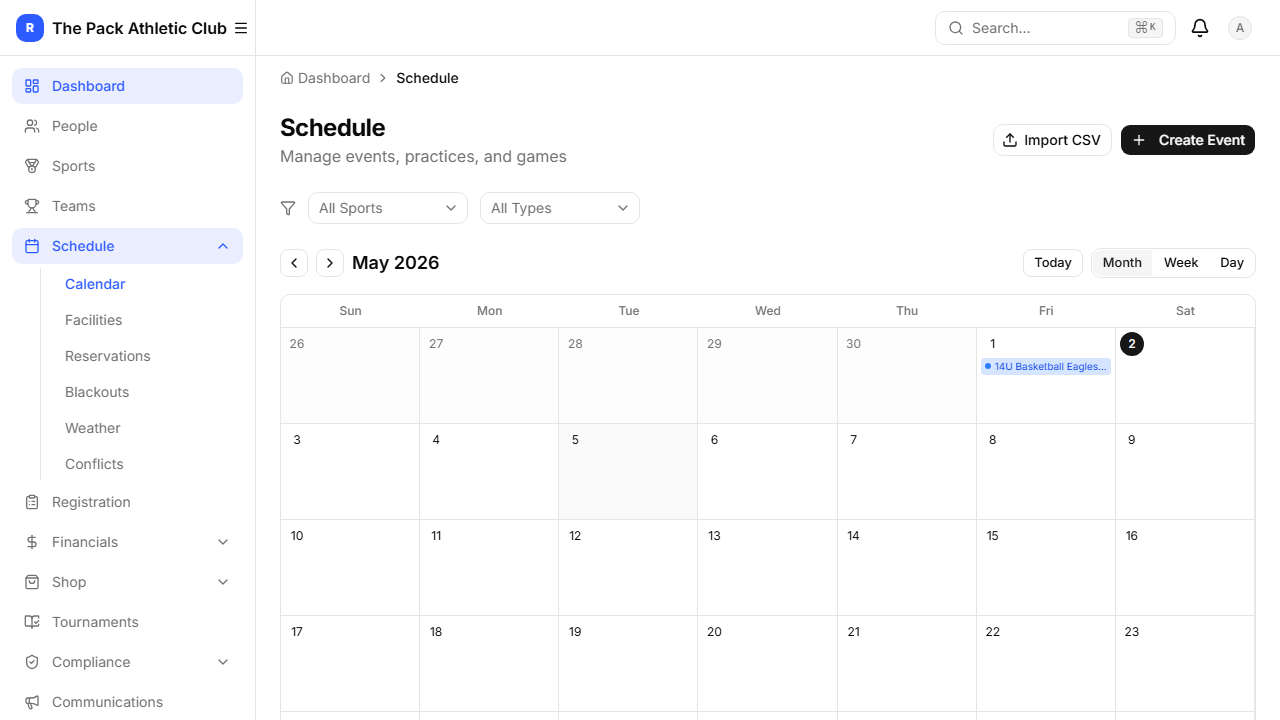
The Schedule page shows a full calendar with month, week, and day views. Events are color-coded by type: practices (blue), games (green), tournaments (purple), meetings (amber).
Also check Weather for alerts and Conflicts to catch scheduling overlaps.
Registration Programs
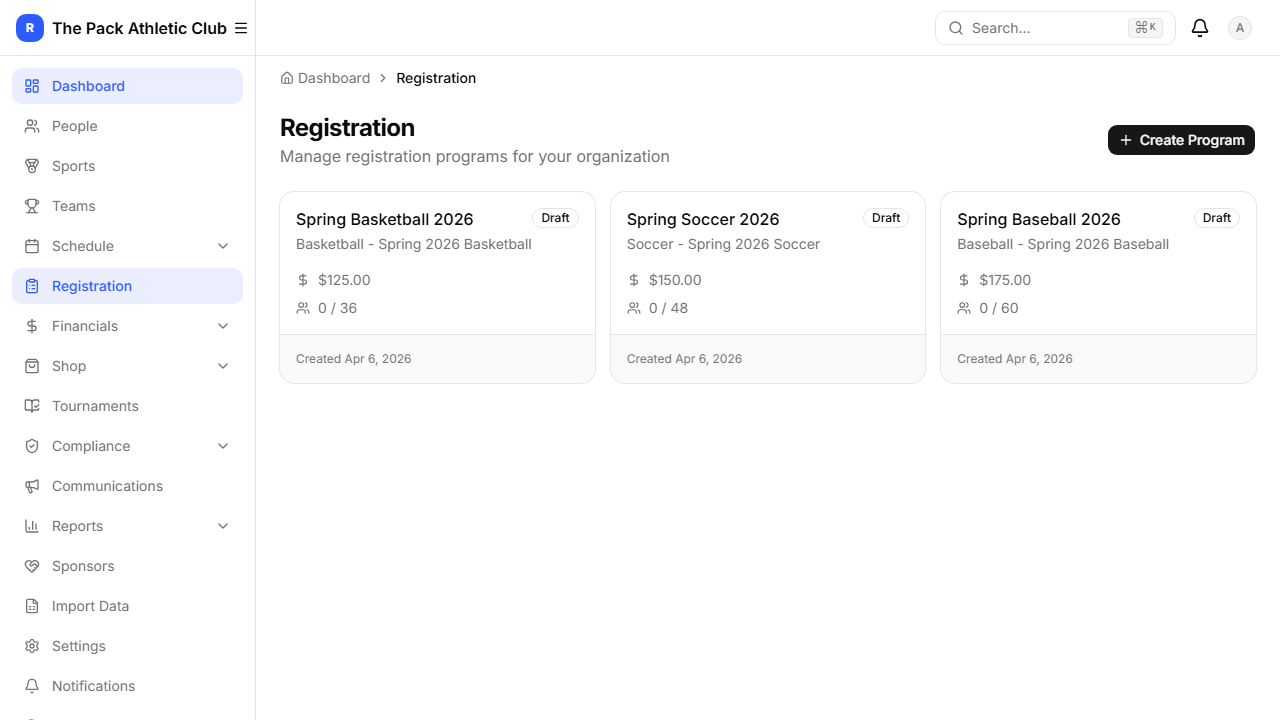
Registration programs are how families sign up and pay. Go to Registration in the sidebar.
Financials & Payments
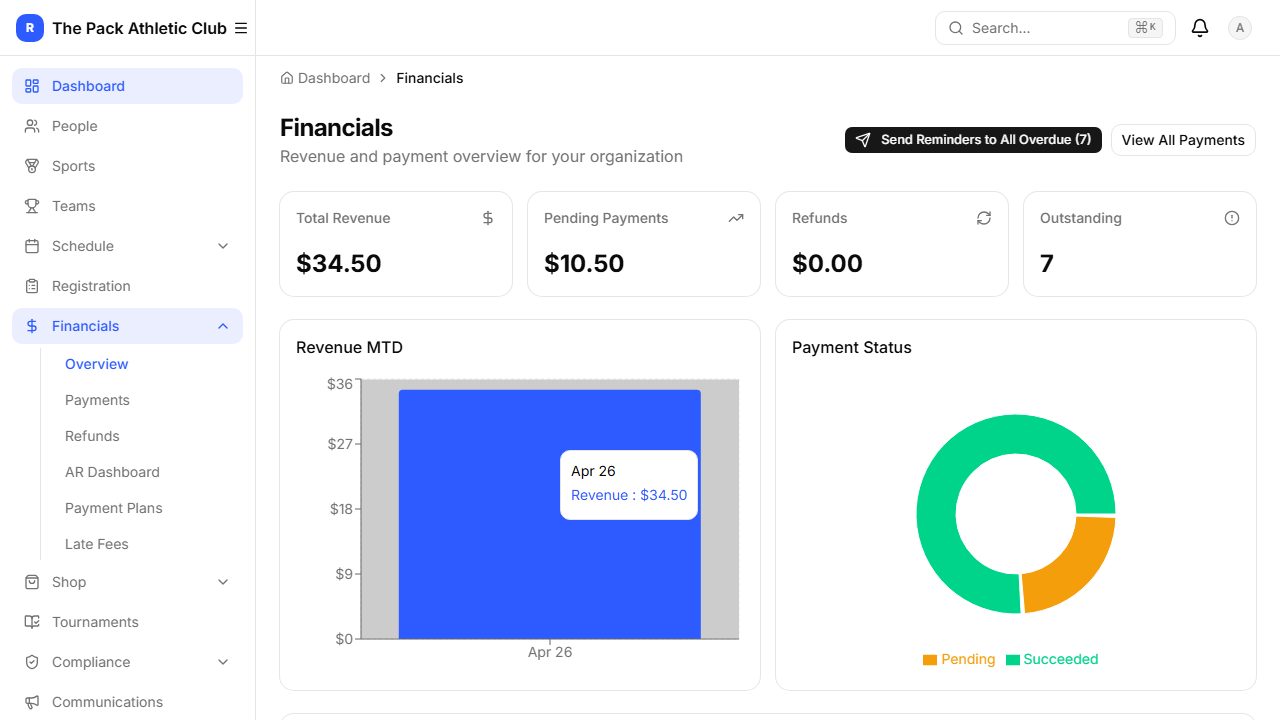
The Financialssection gives you a complete picture of your organization’s money:
- Overview — revenue charts and stat cards
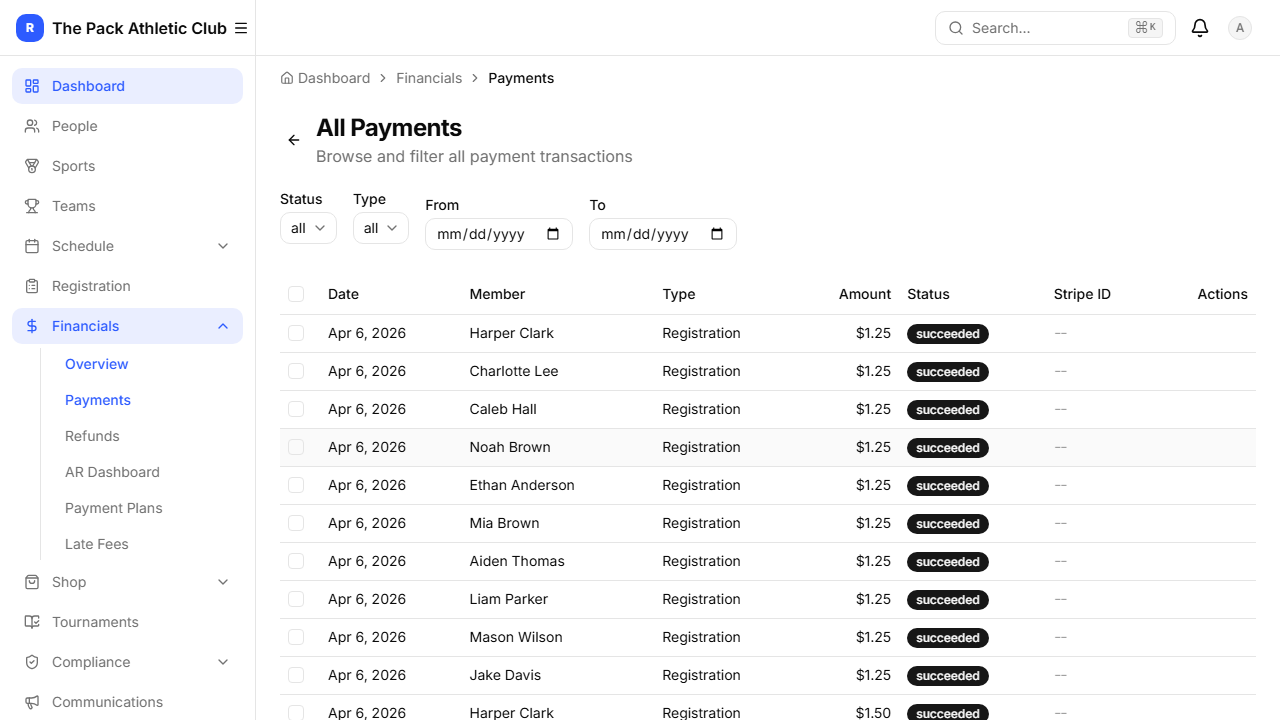
- Payments — every transaction with status filters
- Refunds — full refund history with reasons
- AR Dashboard — overdue accounts at a glance
- Payment Plans — installment tracking
- Late Fees — automatic late fee rules
Issuing Refunds
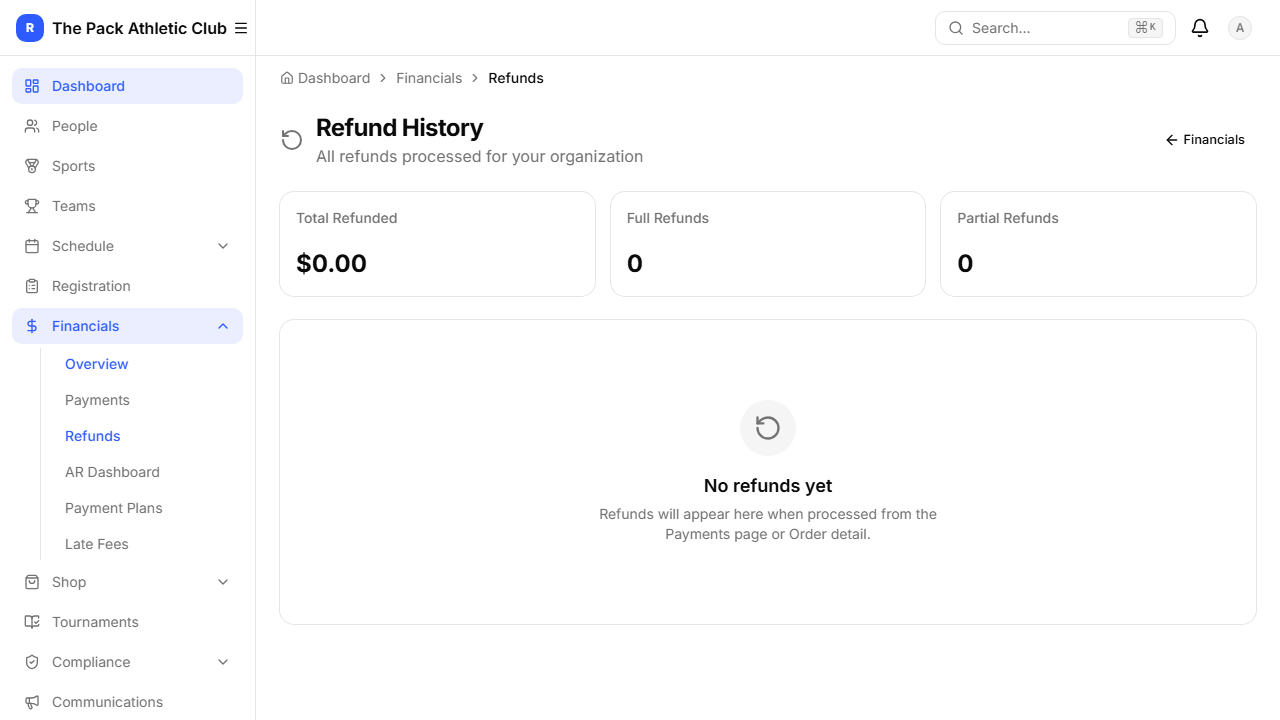
Refunds can be issued from the Payments table or from an Order detail page. Click Issue Refund on any succeeded payment.
Every refund automatically creates a GL ledger entry for reconciliation with your accounting system.
Team Shop
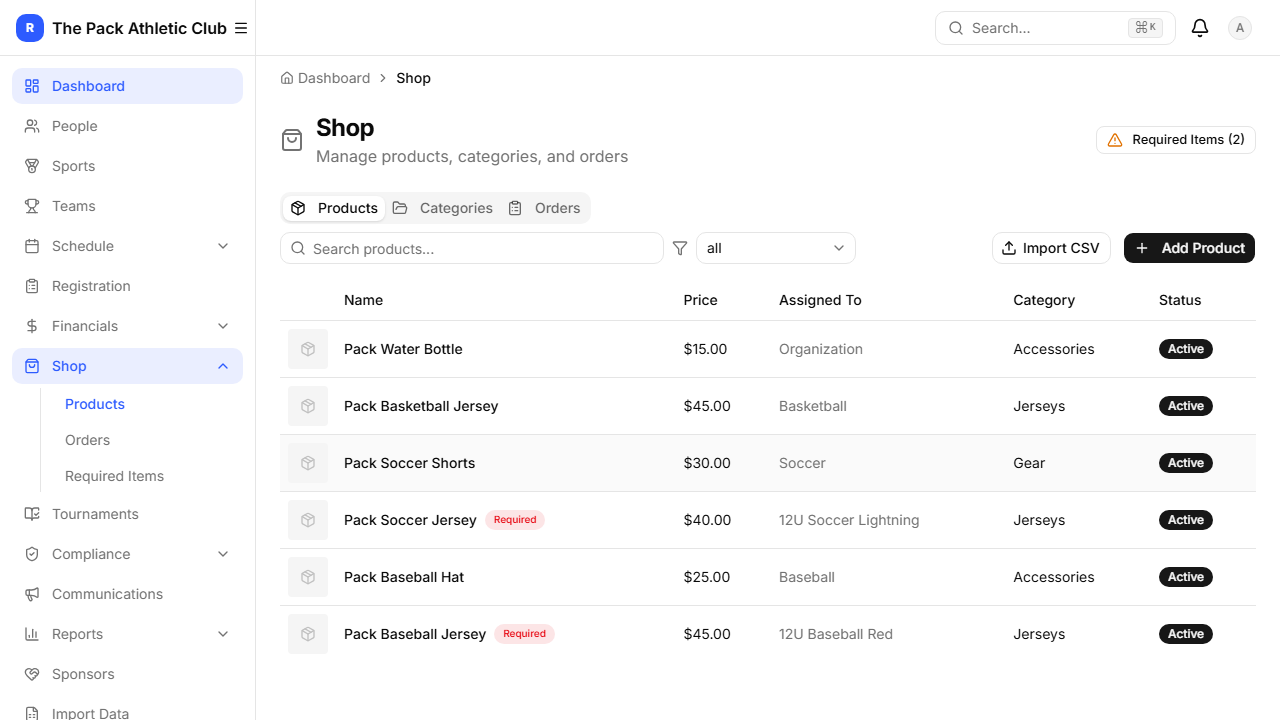
Manage merchandise, uniforms, and required items under Shop. Add products with prices, categories, images, and assign them to specific sports or teams.
External Team Store (BSN Sports)
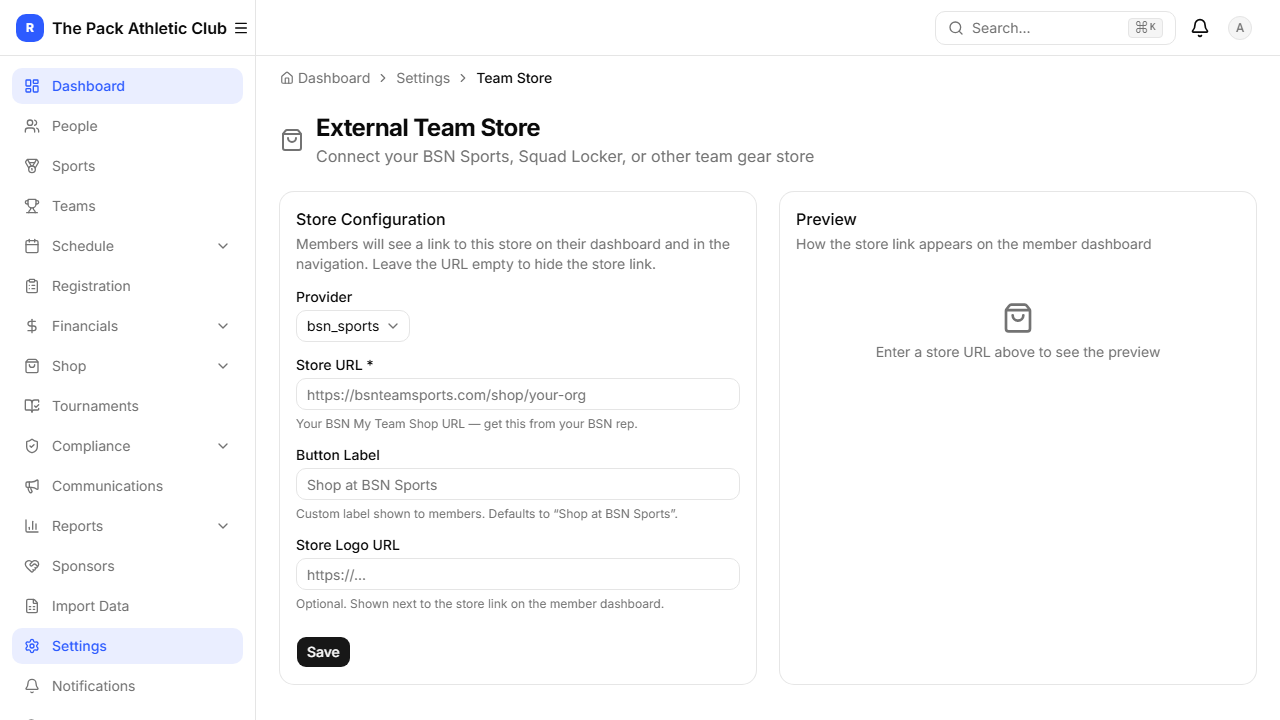
If you use an external provider like BSN Sports, Squad Locker, or OrderMyGear, go to Settings → Team Store. Select your provider, paste your store URL, and optionally add a logo. Members will see a branded link on their dashboard.
Tournaments
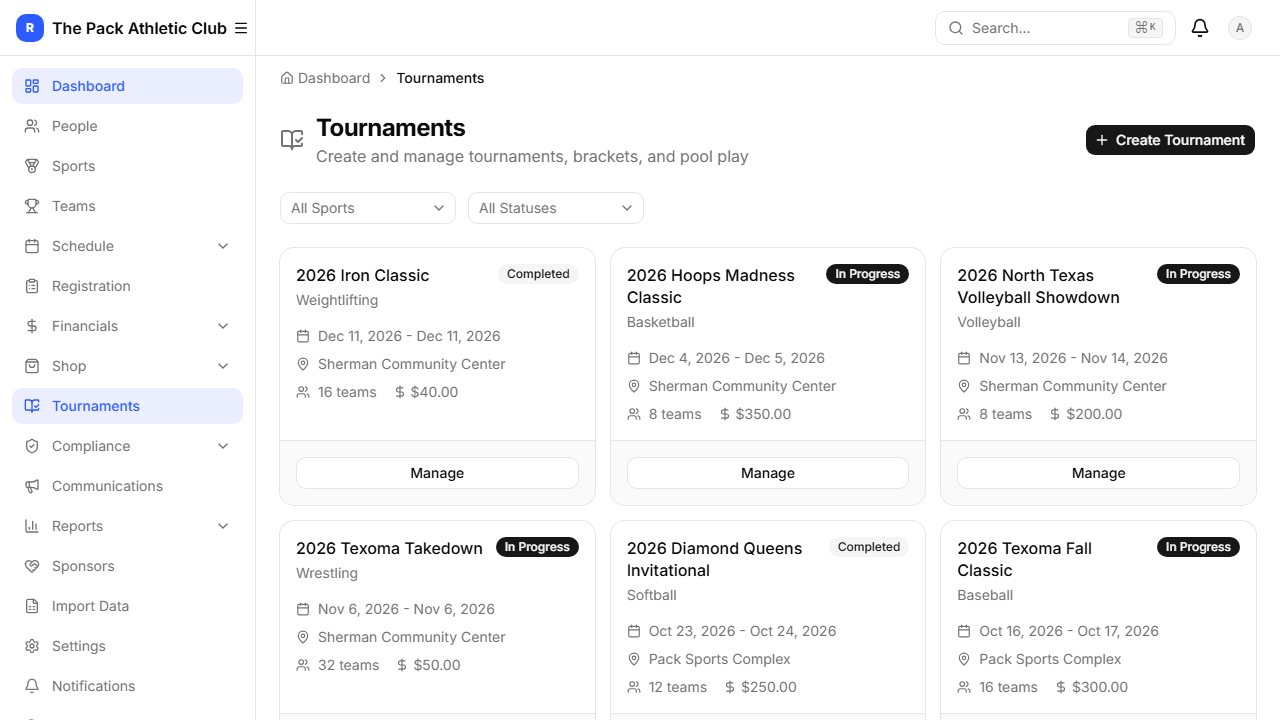
Create and manage tournaments with brackets, pool play, and live scoring. Go to Tournaments in the sidebar.
Compliance & Documents
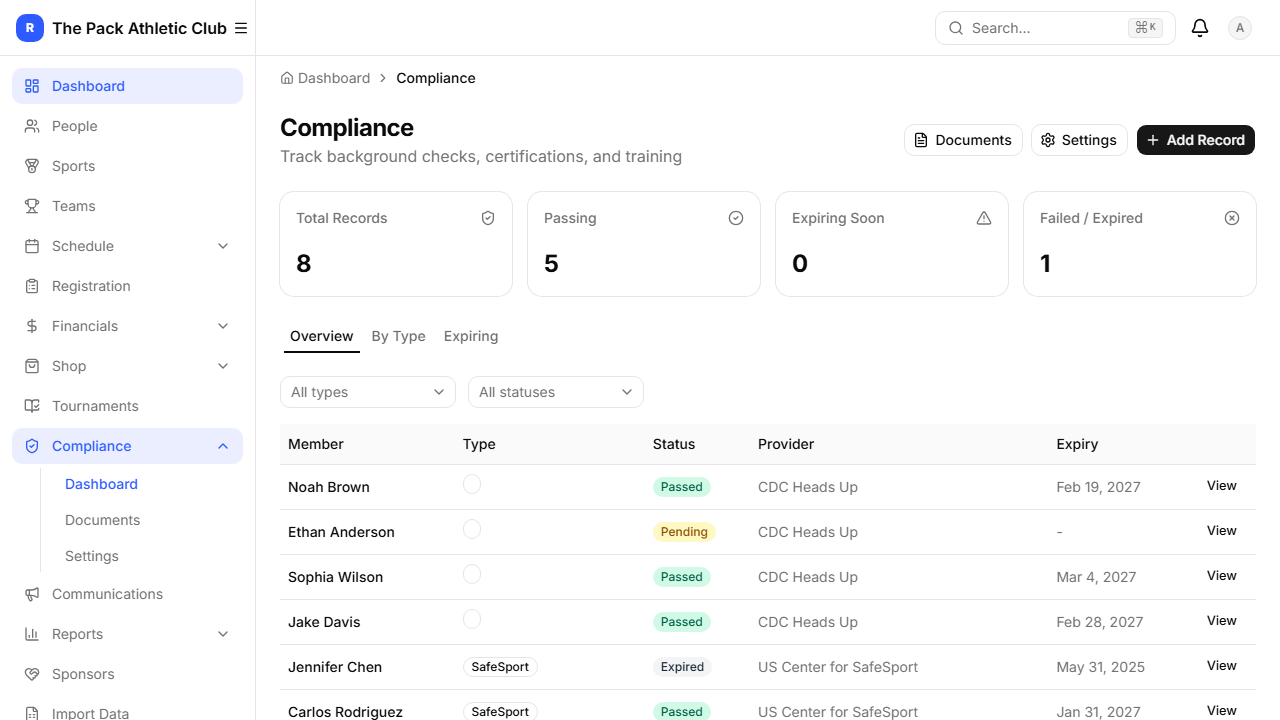
Track background checks, SafeSport certifications, first aid/CPR, and coaching certs under Compliance. The dashboard shows status at a glance with type and status filters.
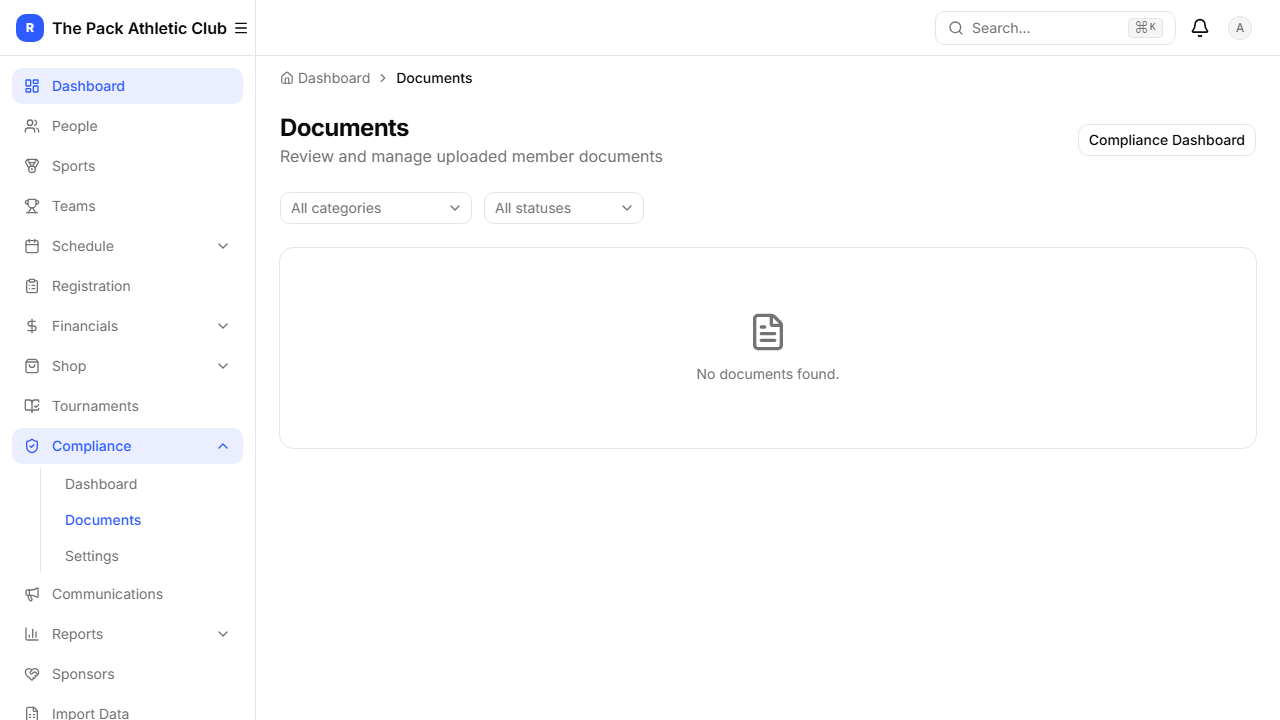
Documents stores uploaded files — waivers, medical forms, birth certificates. All files are encrypted and stored in a private bucket with signed URLs. Only authorized users can access them.
Communications
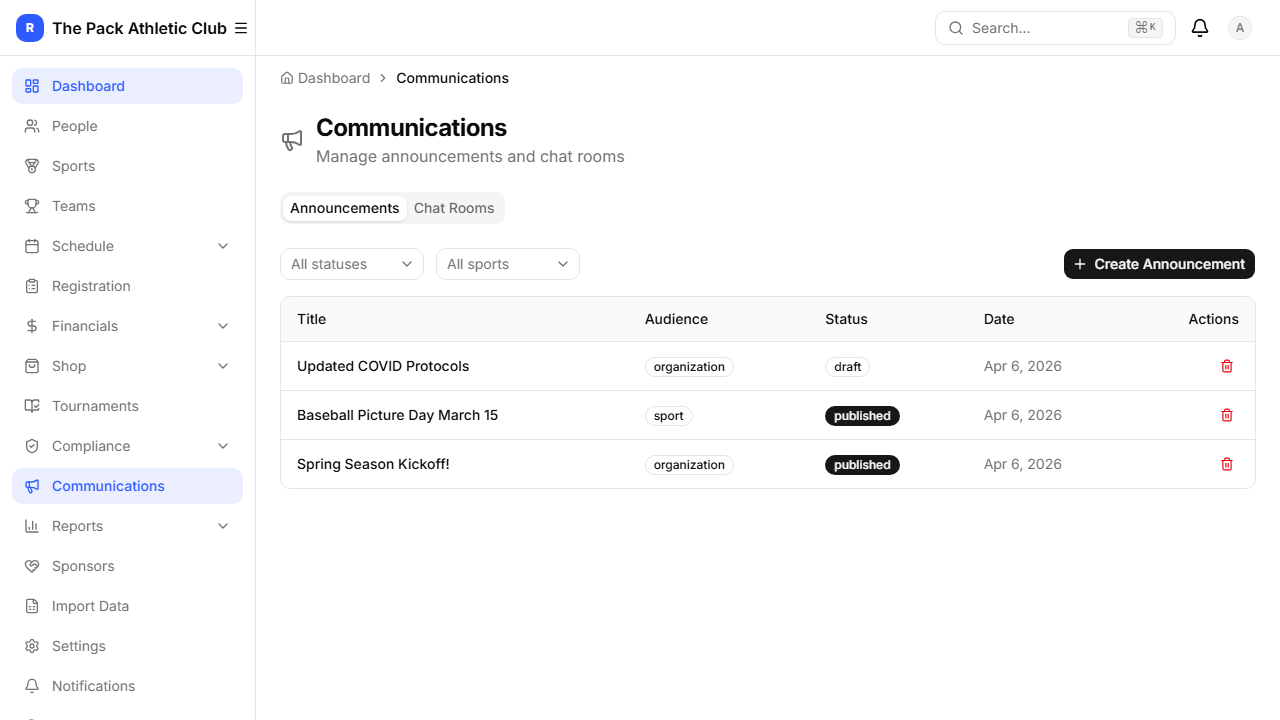
Send announcements to your entire organization or targeted groups. Go to Communications and click New Announcement.
Reports
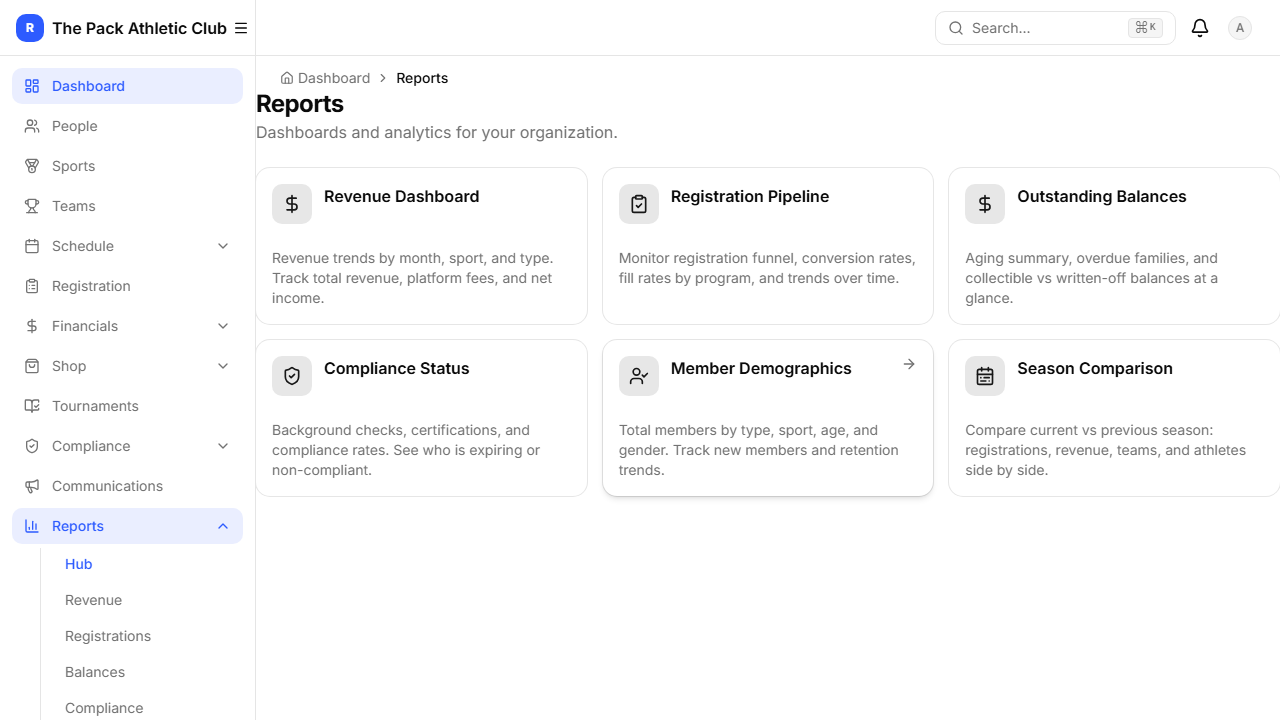
The Reports hub provides analytics across your organization:
- Revenue — monthly trends, by sport
- Registrations — enrollment by program
- Members — demographics, growth
- Balances — outstanding amounts
- Compliance — certification coverage
- Seasons — season-over-season comparison
Sponsors
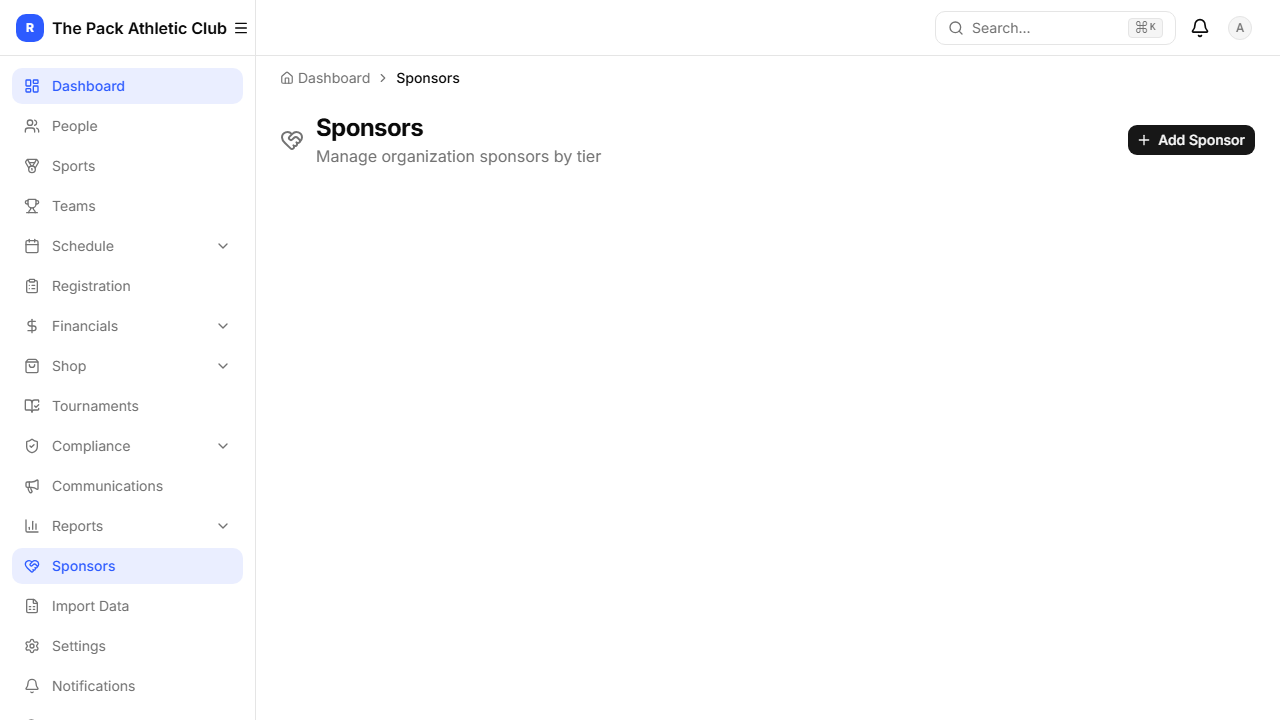
Feature your organization’s sponsors on the member dashboard. Go to Sponsors in the sidebar.
Settings
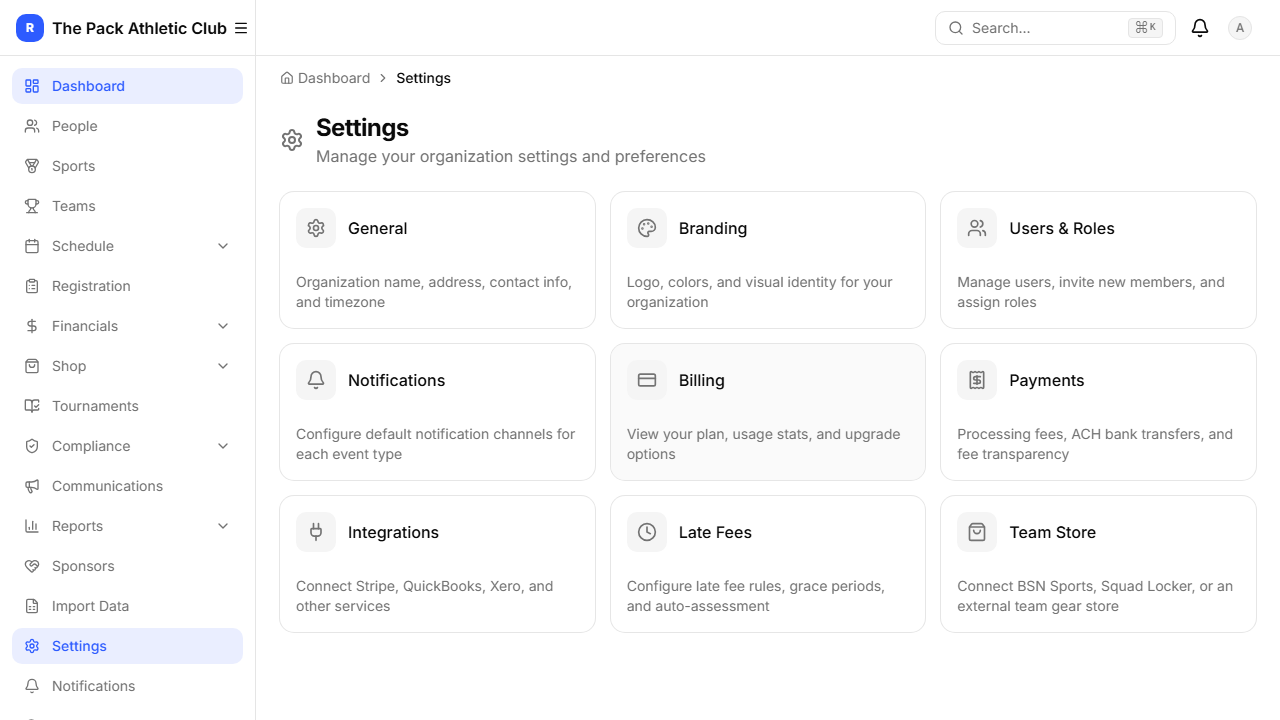
The Settings hub gives you access to all configuration:
- General — org name, address, contact, timezone
- Branding — logo, colors
- Users & Roles — invite admins, assign roles
- Notifications — default channels per event type
- Billing — plan, usage
- Payments — Stripe setup, processing fees
- Integrations — QuickBooks, Xero, Sage
- Late Fees — rules and grace periods
- Team Store — external store connection
Users & Roles
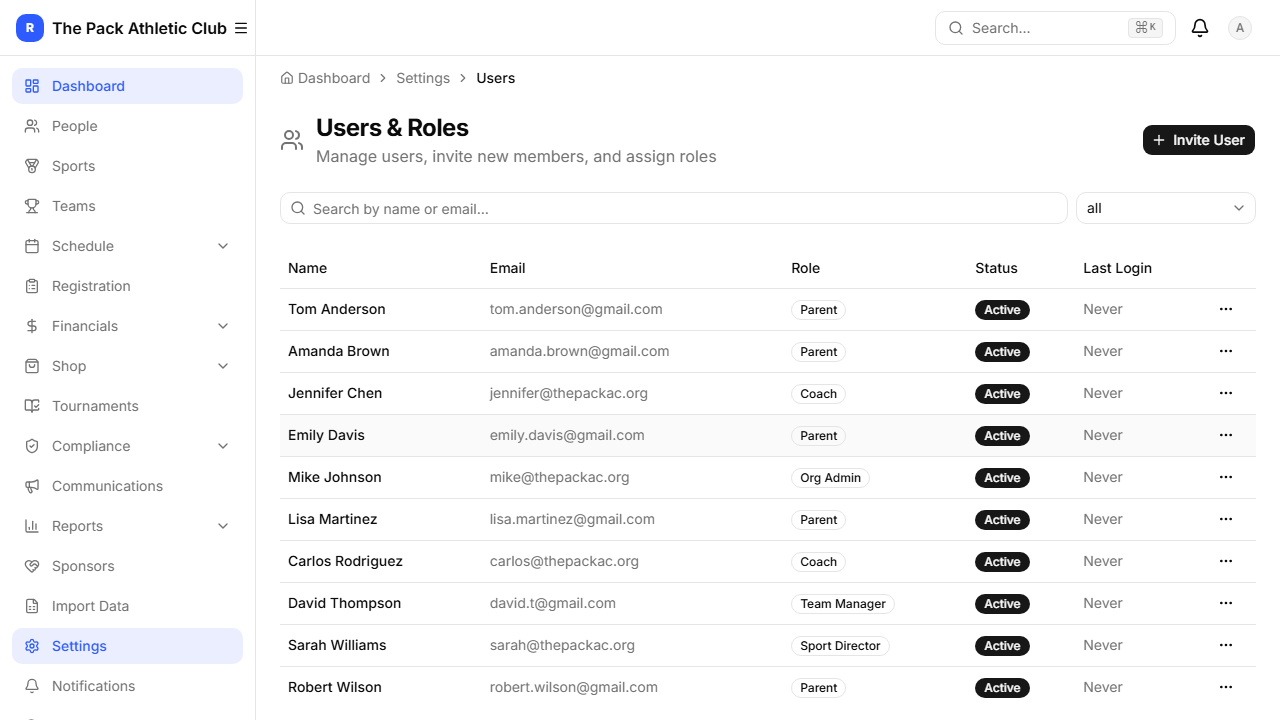
Roles determine what each person can see and do:
- Org Admin — full access to everything
- Sport Director — manages their sport(s)
- Coach — manages their team(s)
- Team Manager — basic team operations
- Parent — family dashboard, registration, payments
- Athlete — view-only schedule and team info
Parent/Member Experience

When parents and athletes sign in, they see a mobile-friendly dashboard with action items, their children’s cards, and the week’s upcoming schedule.
Family
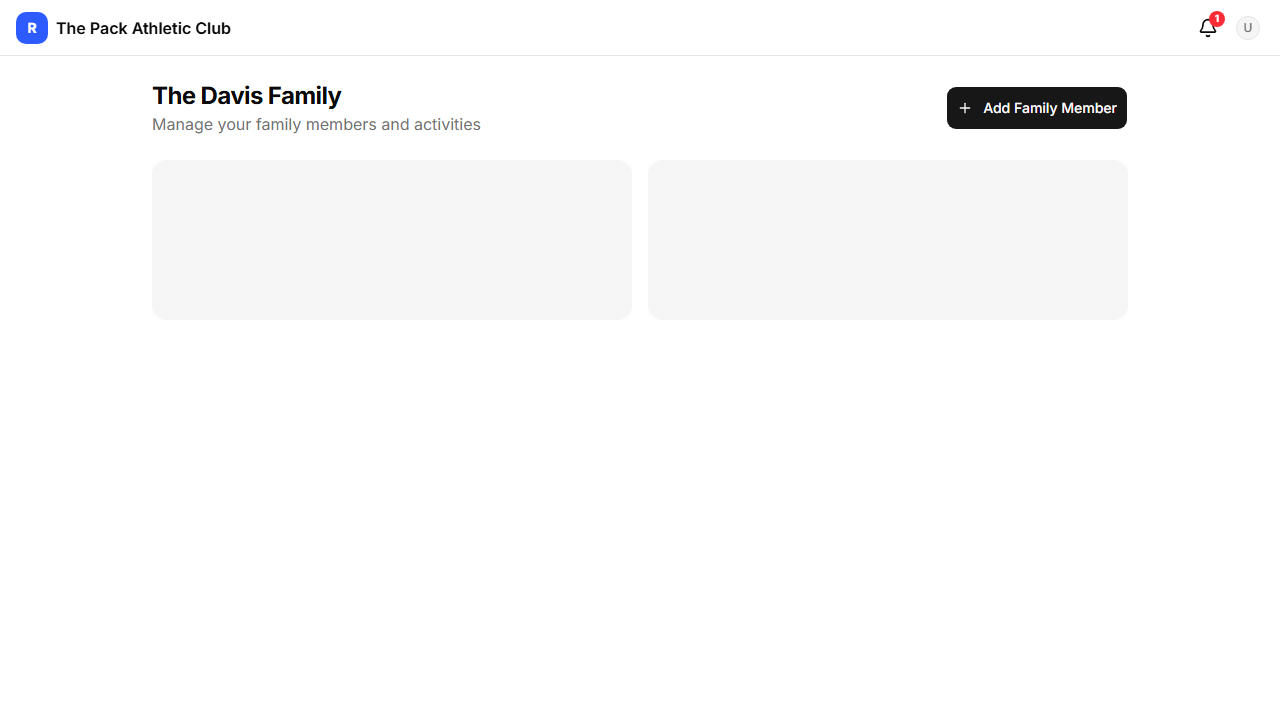
The Family page shows all linked children with their team assignments, registration status, and documents.
Registration
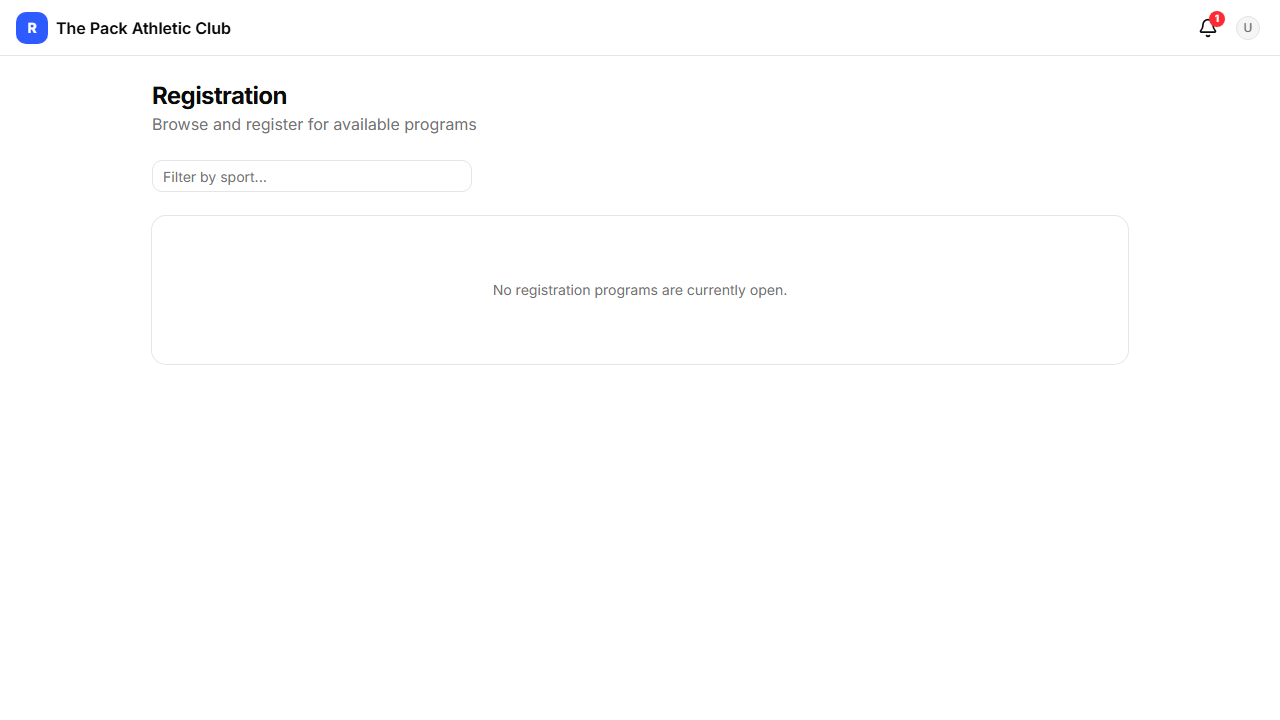
Parents browse available programs, select a child, review fees and waivers, and pay — all in one flow.
Shop
Browse products, add to cart, and checkout. Required items (like uniforms) are flagged with alerts.
Tournaments
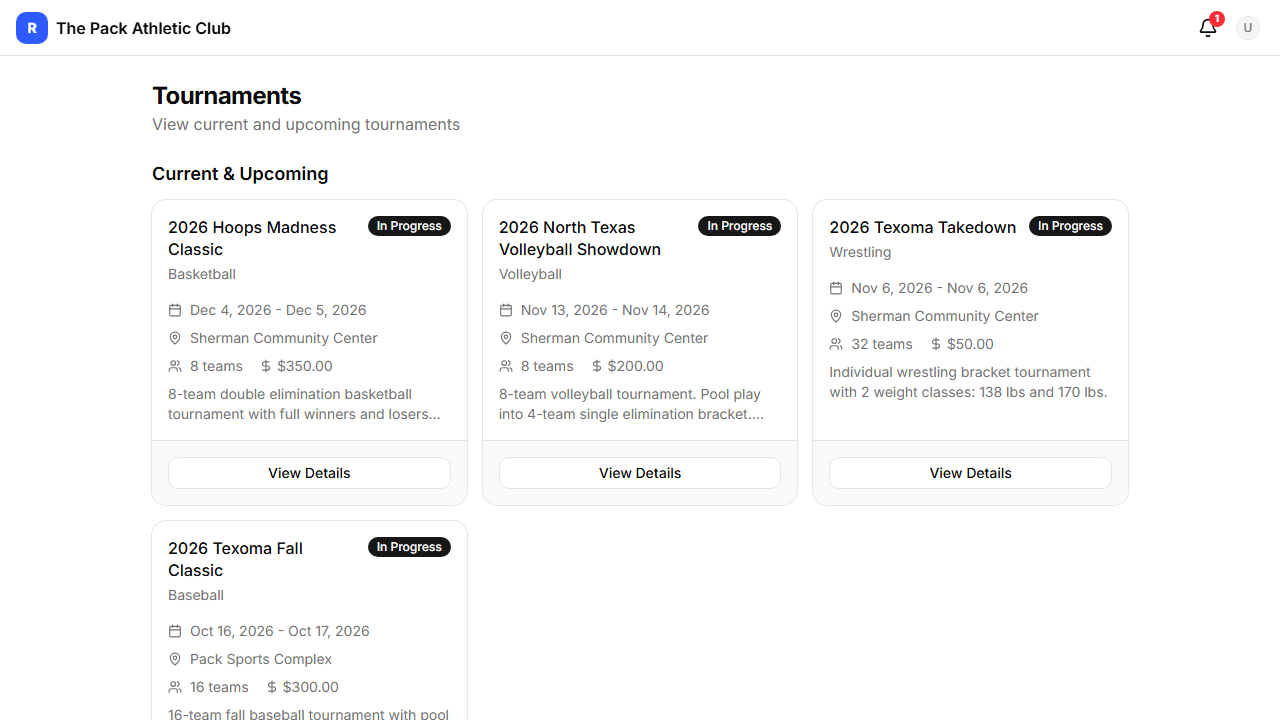
View upcoming tournaments, register teams, and track bracket progress with live scoring.
Security & Privacy
RosterMgmt takes data security seriously, especially for organizations handling minor athlete data.
- Encryption at rest — sensitive PII (medical info, emergency contacts, birth dates, addresses) is AES-256-GCM encrypted before storage. Even a database breach reveals only ciphertext.
- Encrypted file storage — uploaded documents (birth certificates, waivers, medical forms) are encrypted client-side before upload. Files are in a private bucket with short-lived signed URLs.
- Row-level security— every database table enforces tenant isolation. Organizations can never see each other’s data.
- Security headers — CSP, HSTS, X-Frame-Options, and Referrer-Policy are enforced on all pages.
- Audit logging — all PII access and modifications are logged with who, what, and when.
- COPPA compliance— no accounts for children under 13. Parents control their children’s data.
- Stripe payments — card numbers never touch our servers. All payment processing goes through Stripe.
For details, see our Privacy Policy and Terms of Service.
Need help? Contact support@rostermgmt.com